How to Use a Cast-Iron Skillet

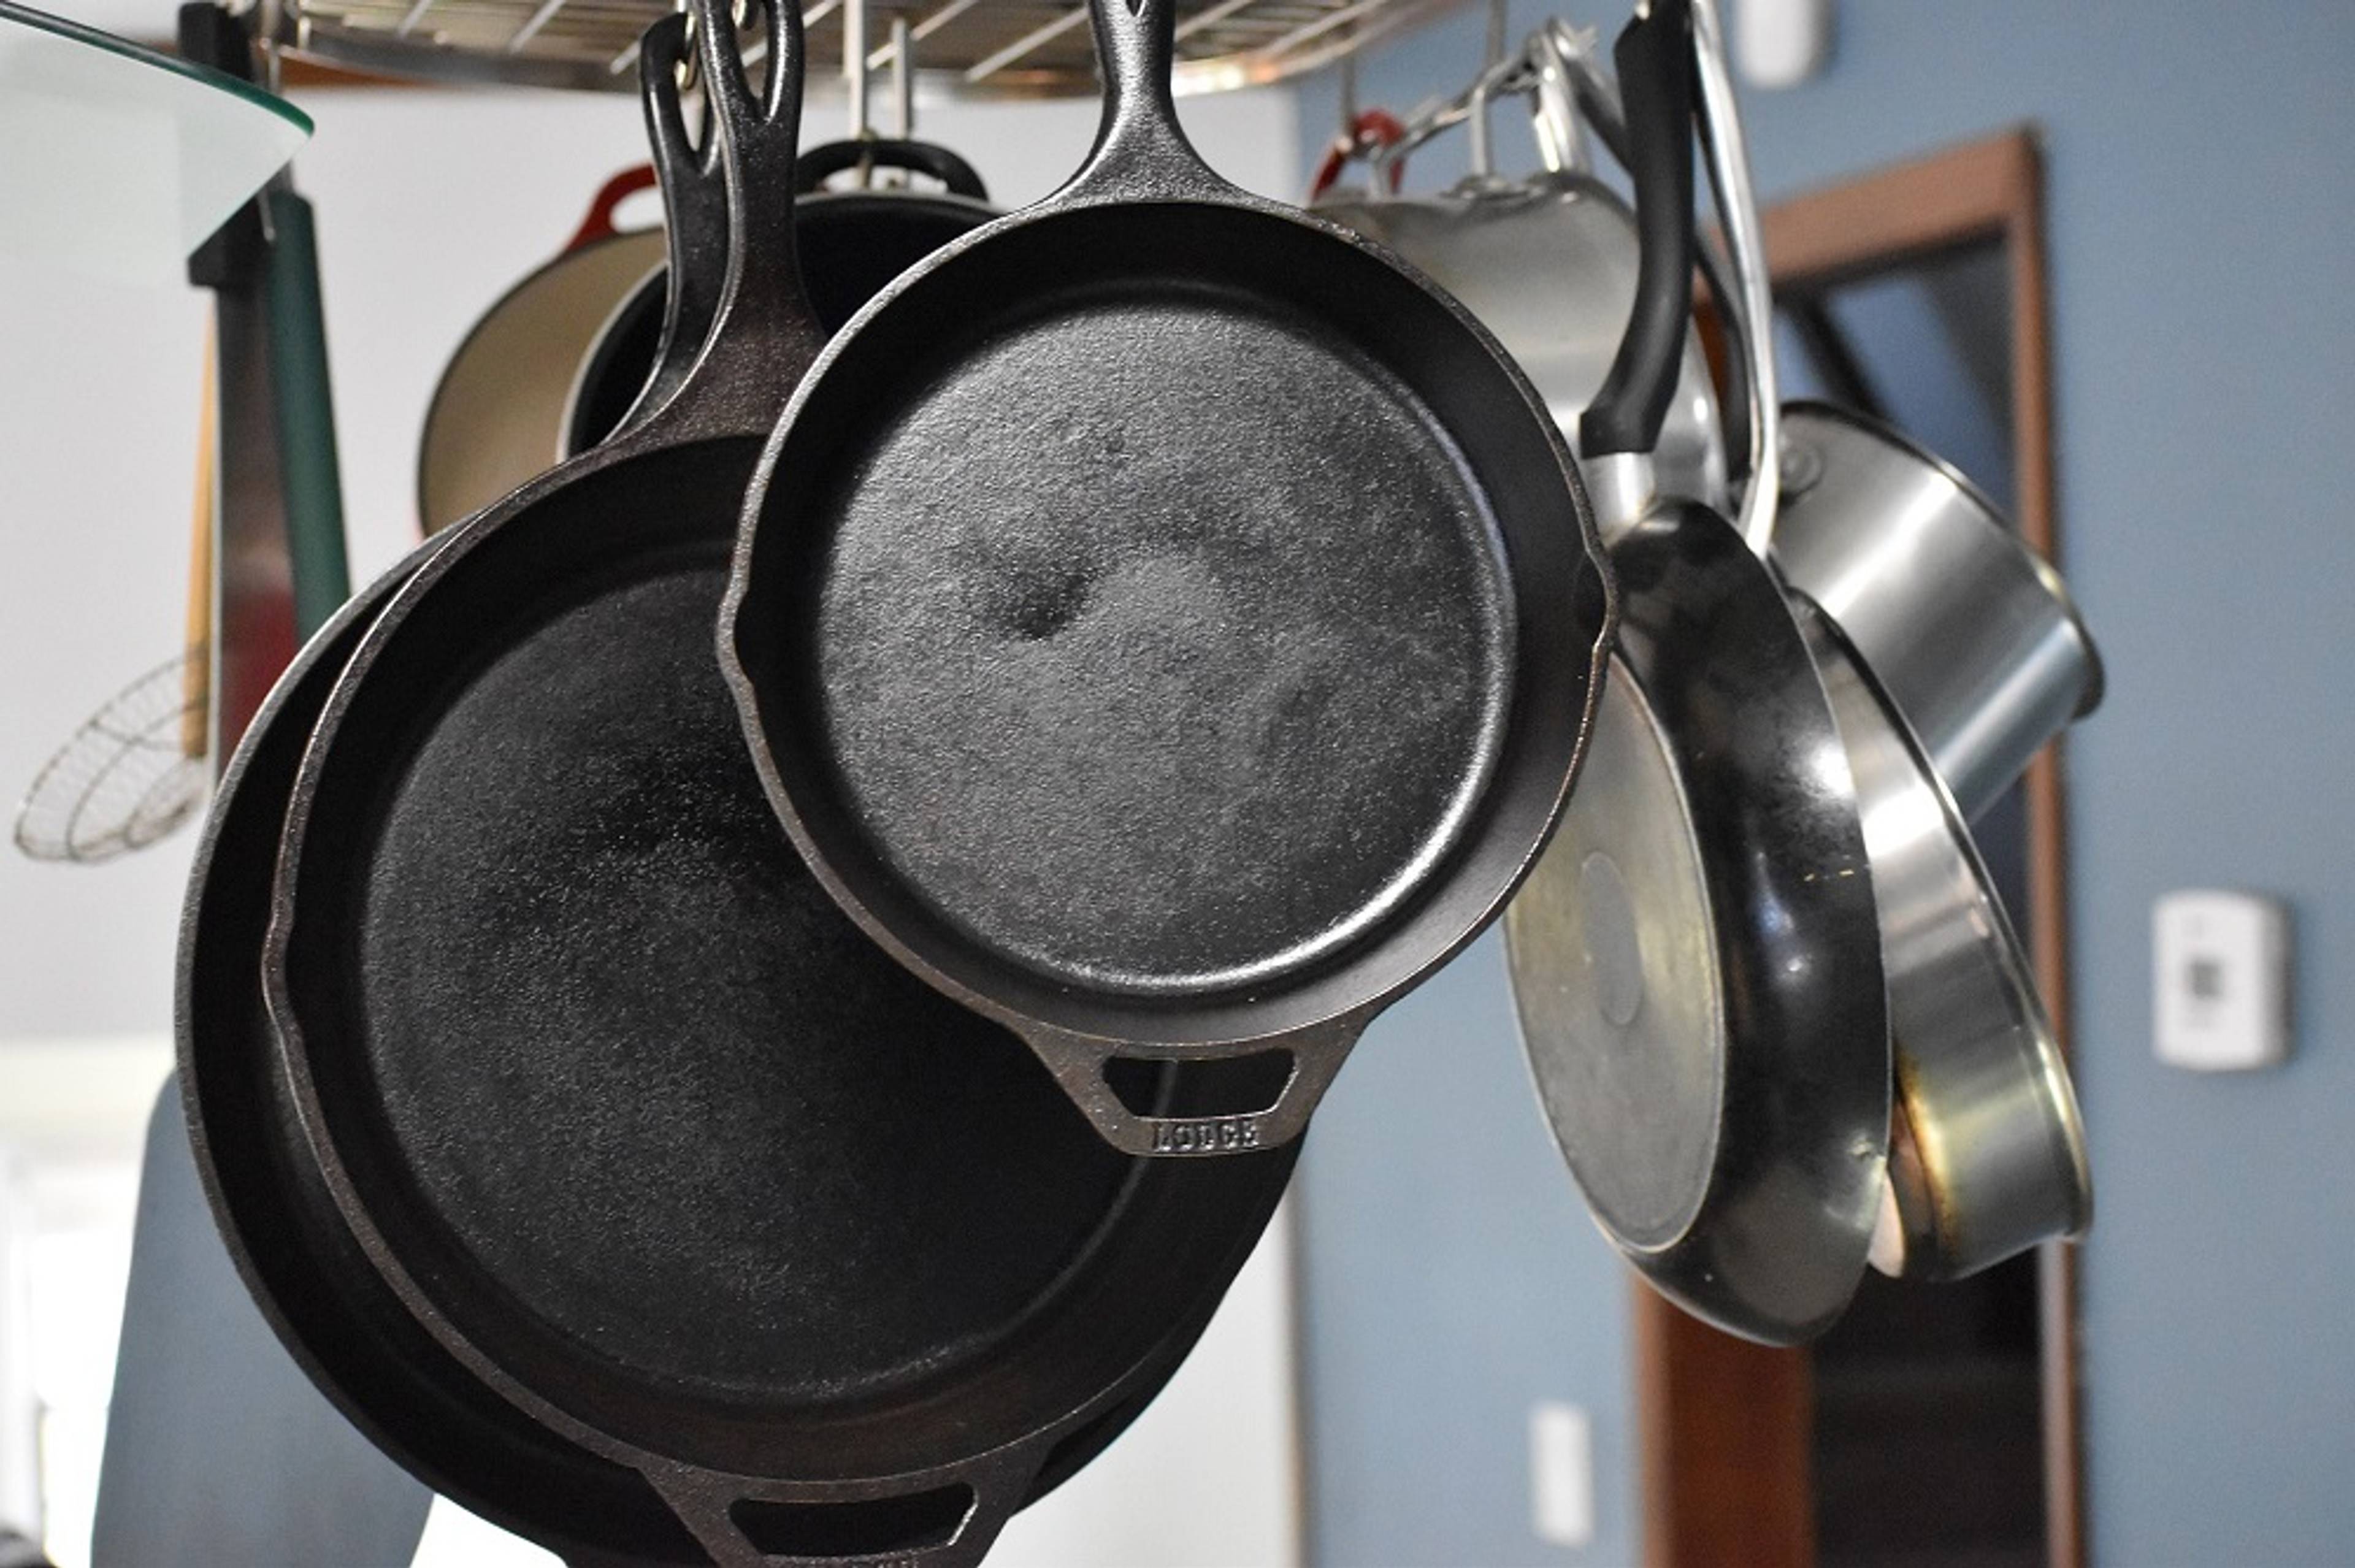
Cast-Iron Skillets 101

What is it about the humble cast-iron skillet that makes it indispensable to professional chefs and home cooks alike? This pan seems to hold a near-mythical place in the pantheon of serious kitchen tools, yet it has a reputation for being more than a little finicky when it comes to cleaning and maintenance. Plus, it’s heavy. So, what’s all the fuss about?

What Should You Cook in a Cast-Iron Skillet?

What Should You Cook in a Cast-Iron Skillet?

“There are very few things that you can’t do in a cast-iron pan,” says Joanna Pruess, author of Cast Iron Cookbook and Cast-Iron Cooking for Two. “I use a 10-inch cast-iron skillet for just about everything, so it’s an economy of equipment.”

From searing the perfect steak—more on that in a bit—and sautéing delicate fish to roasting a chicken in the oven and baking the homiest-looking cornbread, the cast-iron pan is a multipurpose workhorse. It heats up quickly and retains that heat, browns foods beautifully, is oven-safe and virtually indestructible, and goes from stove to table, bestowing any spread with a rustic-chic quality. (Just don’t forget the trivet.) Perhaps most remarkable? When seasoned properly, cast iron becomes essentially nonstick.
How to Season a Cast-Iron Skillet

How to Season a Cast-Iron Skillet

Your new pan may not need to be seasoned, because it’s almost impossible to find one that isn’t pre-seasoned these days. That said, the “seasoning” itself is nothing more than a thin coat of oil spread over the pan’s surface, then heated at a high temperature to create a protective layer that releases food easily. This process is called polymerization —and every time you cook with oil, you’re building up that protective layer (aka seasoning) a little more. So, when you start using a new cast-iron skillet, the recommendation is to just cook in it, especially oily things that will naturally build up layers of seasoning.

If you happen to buy an unseasoned pan, simply oil the pan lightly and place it in a 450-degree oven upside down for one hour. (Slide a cookie sheet onto the rack below the pan to catch any drippings.)

To keep the skillet in top form, pros recommend rubbing it with a light coat of oil after every use.

When and How to Re-Season Your Pan

There might be times when you have to re-season your skillet: Maybe someone cooked a highly acidic sauce in it for hours, or stuck it in the dishwasher. Maybe they left it to soak overnight or put it away when it was still wt. eThese are cast-iron no-nos, but they’re not disasters. To re-season, follow the steps above for seasoning an unseasoned pan.

However, if the surface of the pan is rusty or flaking, it may require a more thorough seasoning. This can be accomplished by cleaning the pan with a nylon scrub brush or fine steel wool scrubber before moving on to the oil-and-oven steps above.
How to Clean Your Cast-Iron Skillet

How to Clean Your Cast-Iron Skillet

How you clean your cast-iron skillet makes a difference. According to Lodge Cast Iron, which has been manufacturing its cast-iron cookware since 1896, the best way to clean your pan is to wash it by hand with water and a little dish soap —yes, you can use soap on cast iron—using a bristle brush or polycarbonate pan scraper to remove food particles, then rinse and dry. That said, there is a debate in the food community about using soap on cast-iron skillets: Those against the practice say it washes off the layer of seasoning. But the general consensus seems to be that, provided you’re not soaking your pan in soap overnight, soap will not remove the seasoning layer.

For a more stubbornly dirty pan, the company recommends simmering a little soapy water in it for three to five minutes, then going at it with the brush or scraper once it has cooled down.
Searing Steak in a Cast-Iron Skillet

Searing Steak in a Cast-Iron Skillet

One of the most popular uses for a cast-iron skillet? Preparing an Instagram-worthy steak. This quick, easy method results in a steak that may rival the one at your favorite steakhouse, where the chef probably bastes the meat with melted butter for added flavor and gloss. We’ve included that step below, but feel free to omit it—your steak will still be spectacular.

Let's start with some tips:

  • Start with the best-quality meat you can find. You can’t go wrong with a dry-aged prime ribeye or New York strip.
  • Choose a 1- or 1½-inch cut.
  • Boneless steak will cook more evenly than bone-in.
  • Let the meat rest before slicing so it will retain most of its juices.

The Basics

What You’ll Need

- Cast-iron skillet
- Tongs or a turner-type spatula
- Kitchen timer
- Spoon
- Meat thermometer
- Cutting board

Ingredients

- Steak
- Neutral oil, such as canola
- Coarse salt
- Freshly ground black pepper
- Pat of butter (optional)
- Sprig of rosemary or thyme (optional)

What You’ll Need

- Cast-iron skillet
- Tongs or a turner-type spatula
- Kitchen timer
- Spoon
- Meat thermometer
- Cutting board

Ingredients

- Steak
- Neutral oil, such as canola
- Coarse salt
- Freshly ground black pepper
- Pat of butter (optional)
- Sprig of rosemary or thyme (optional)

Steps:

  1. Bring steak to room temperature and pat it dry with a paper towel. Oil meat lightly and season with salt and pepper.
  2. Heat pan over medium-high heat until very hot but not smoking. Add steak, lower heat to medium-low, and cook without moving for 2 minutes.
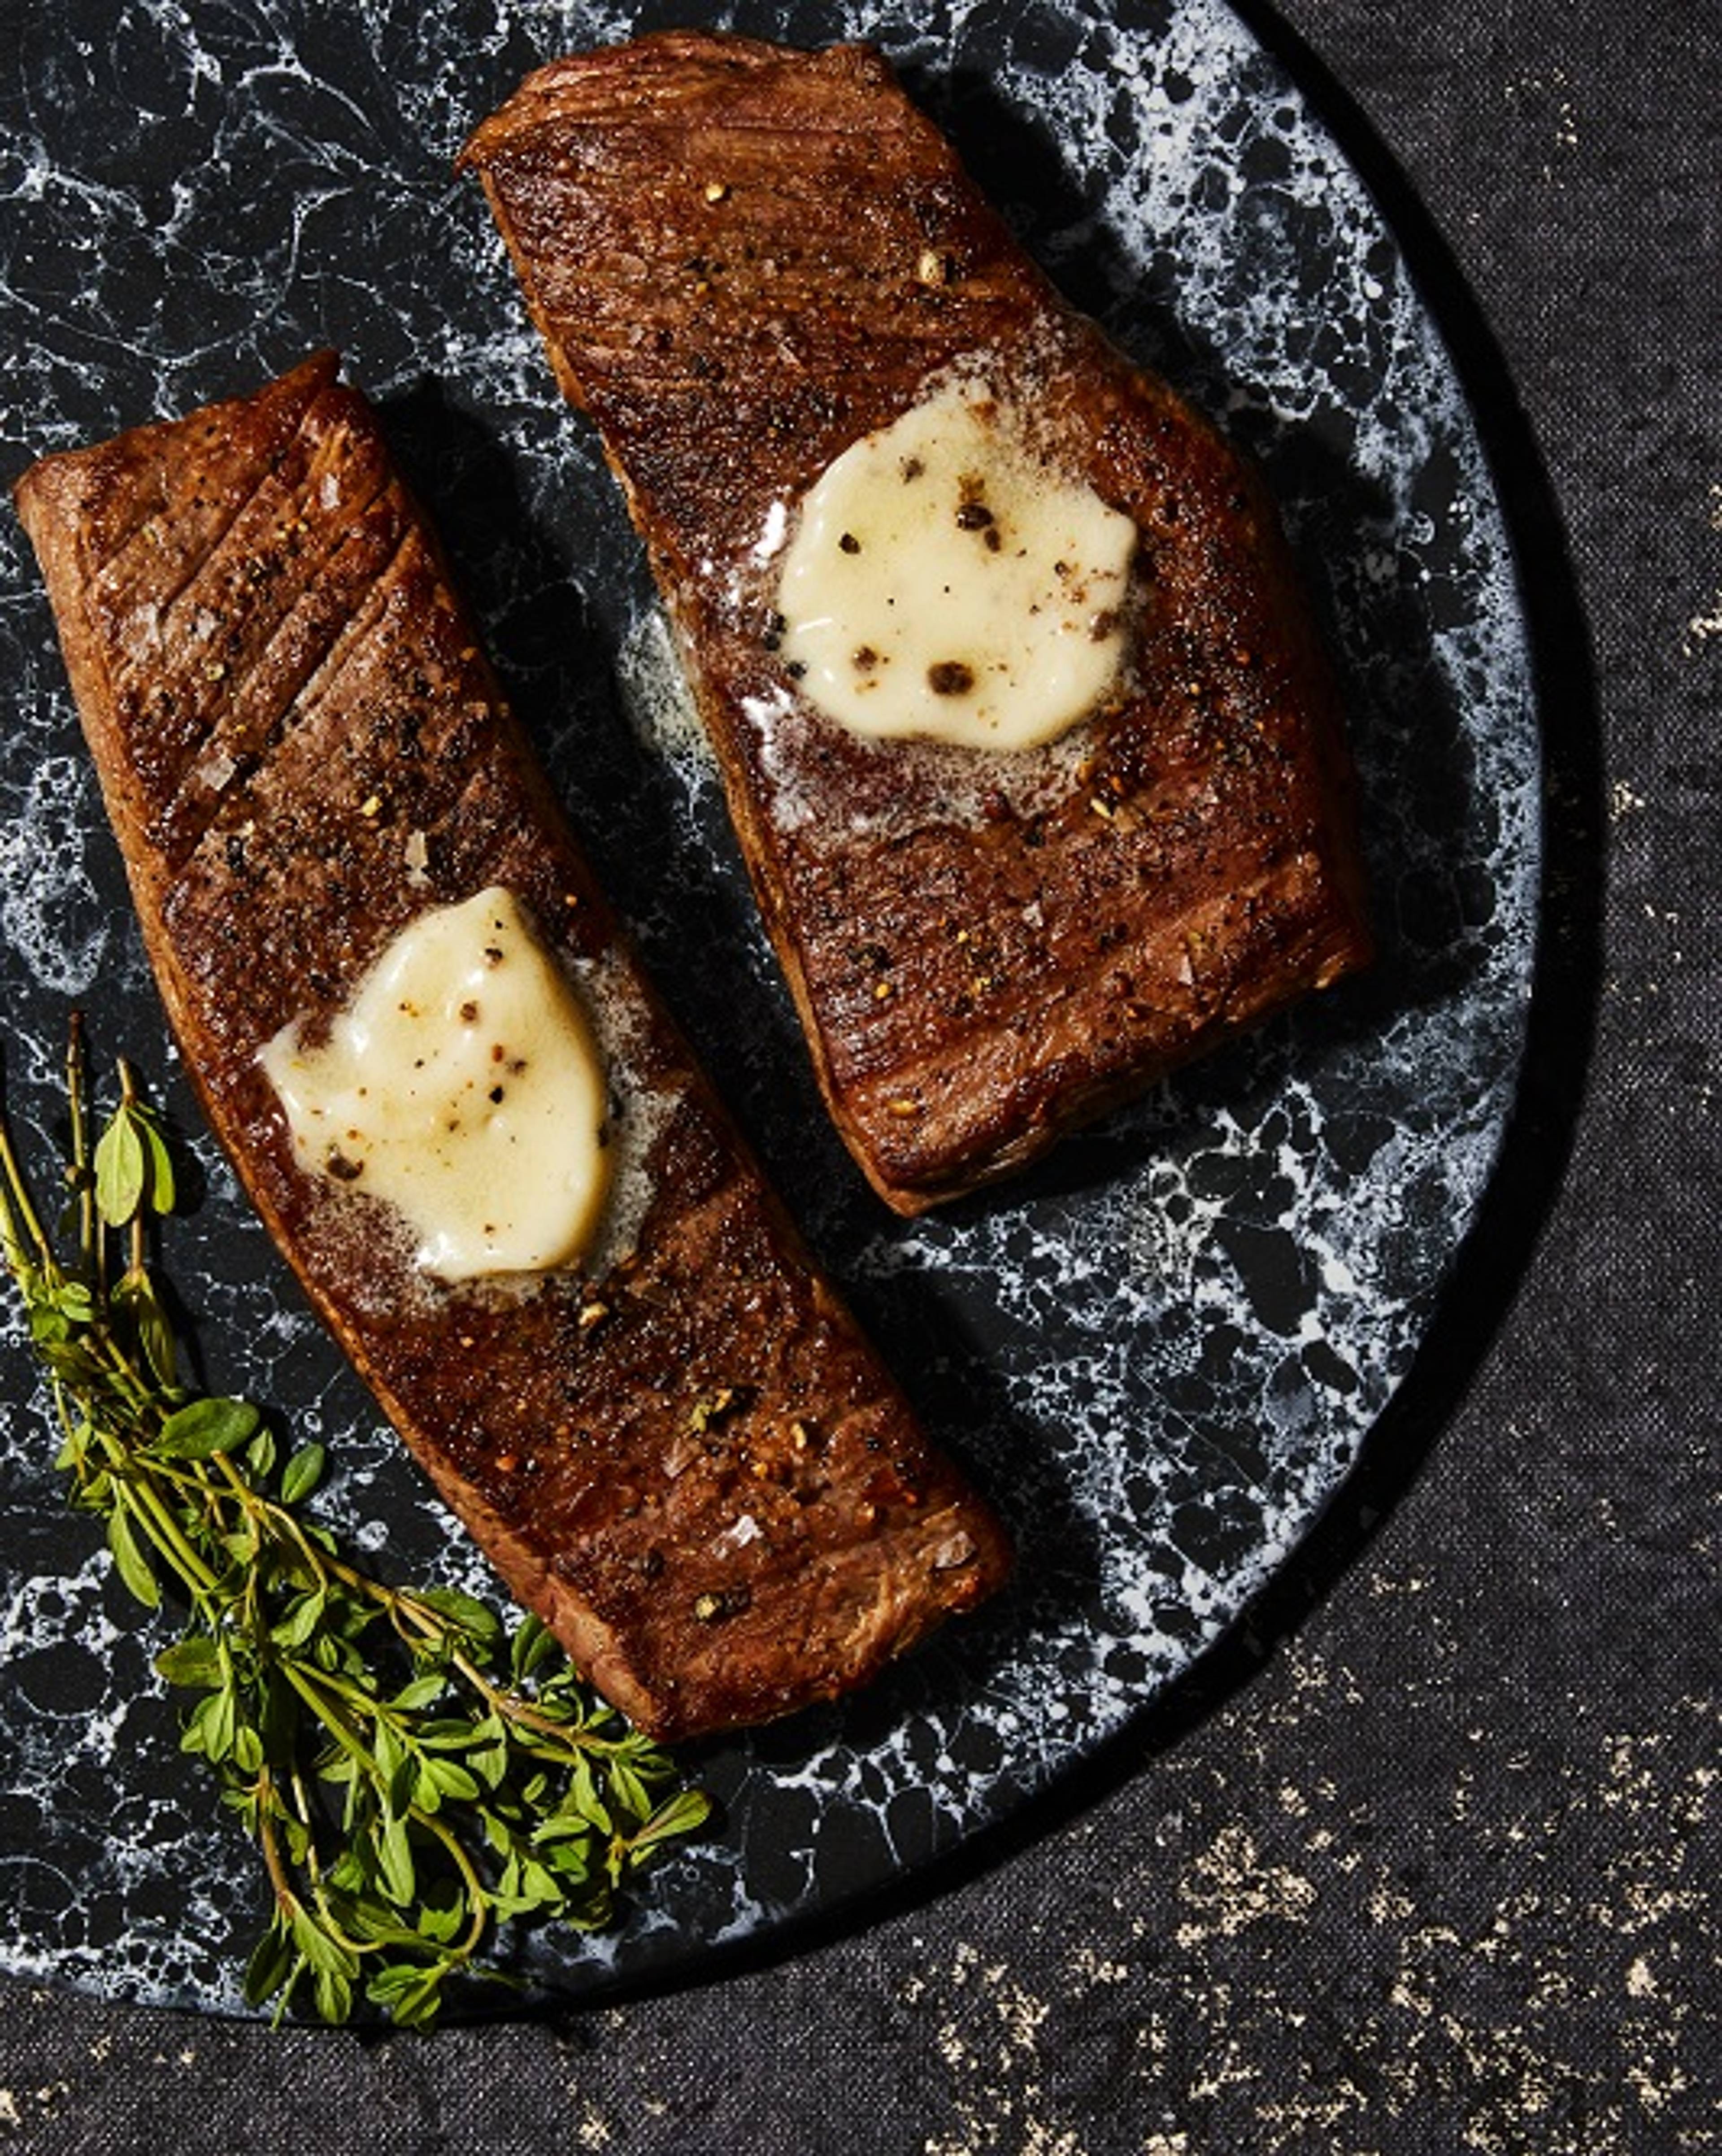
  3. Flip steak, and top with butter if using. Set the timer for 2 minutes. When butter melts and surrounds the steak, throw in the herbs if using. Tilt the pan, collect the melted butter with a spoon, and baste the steak with it a few times.
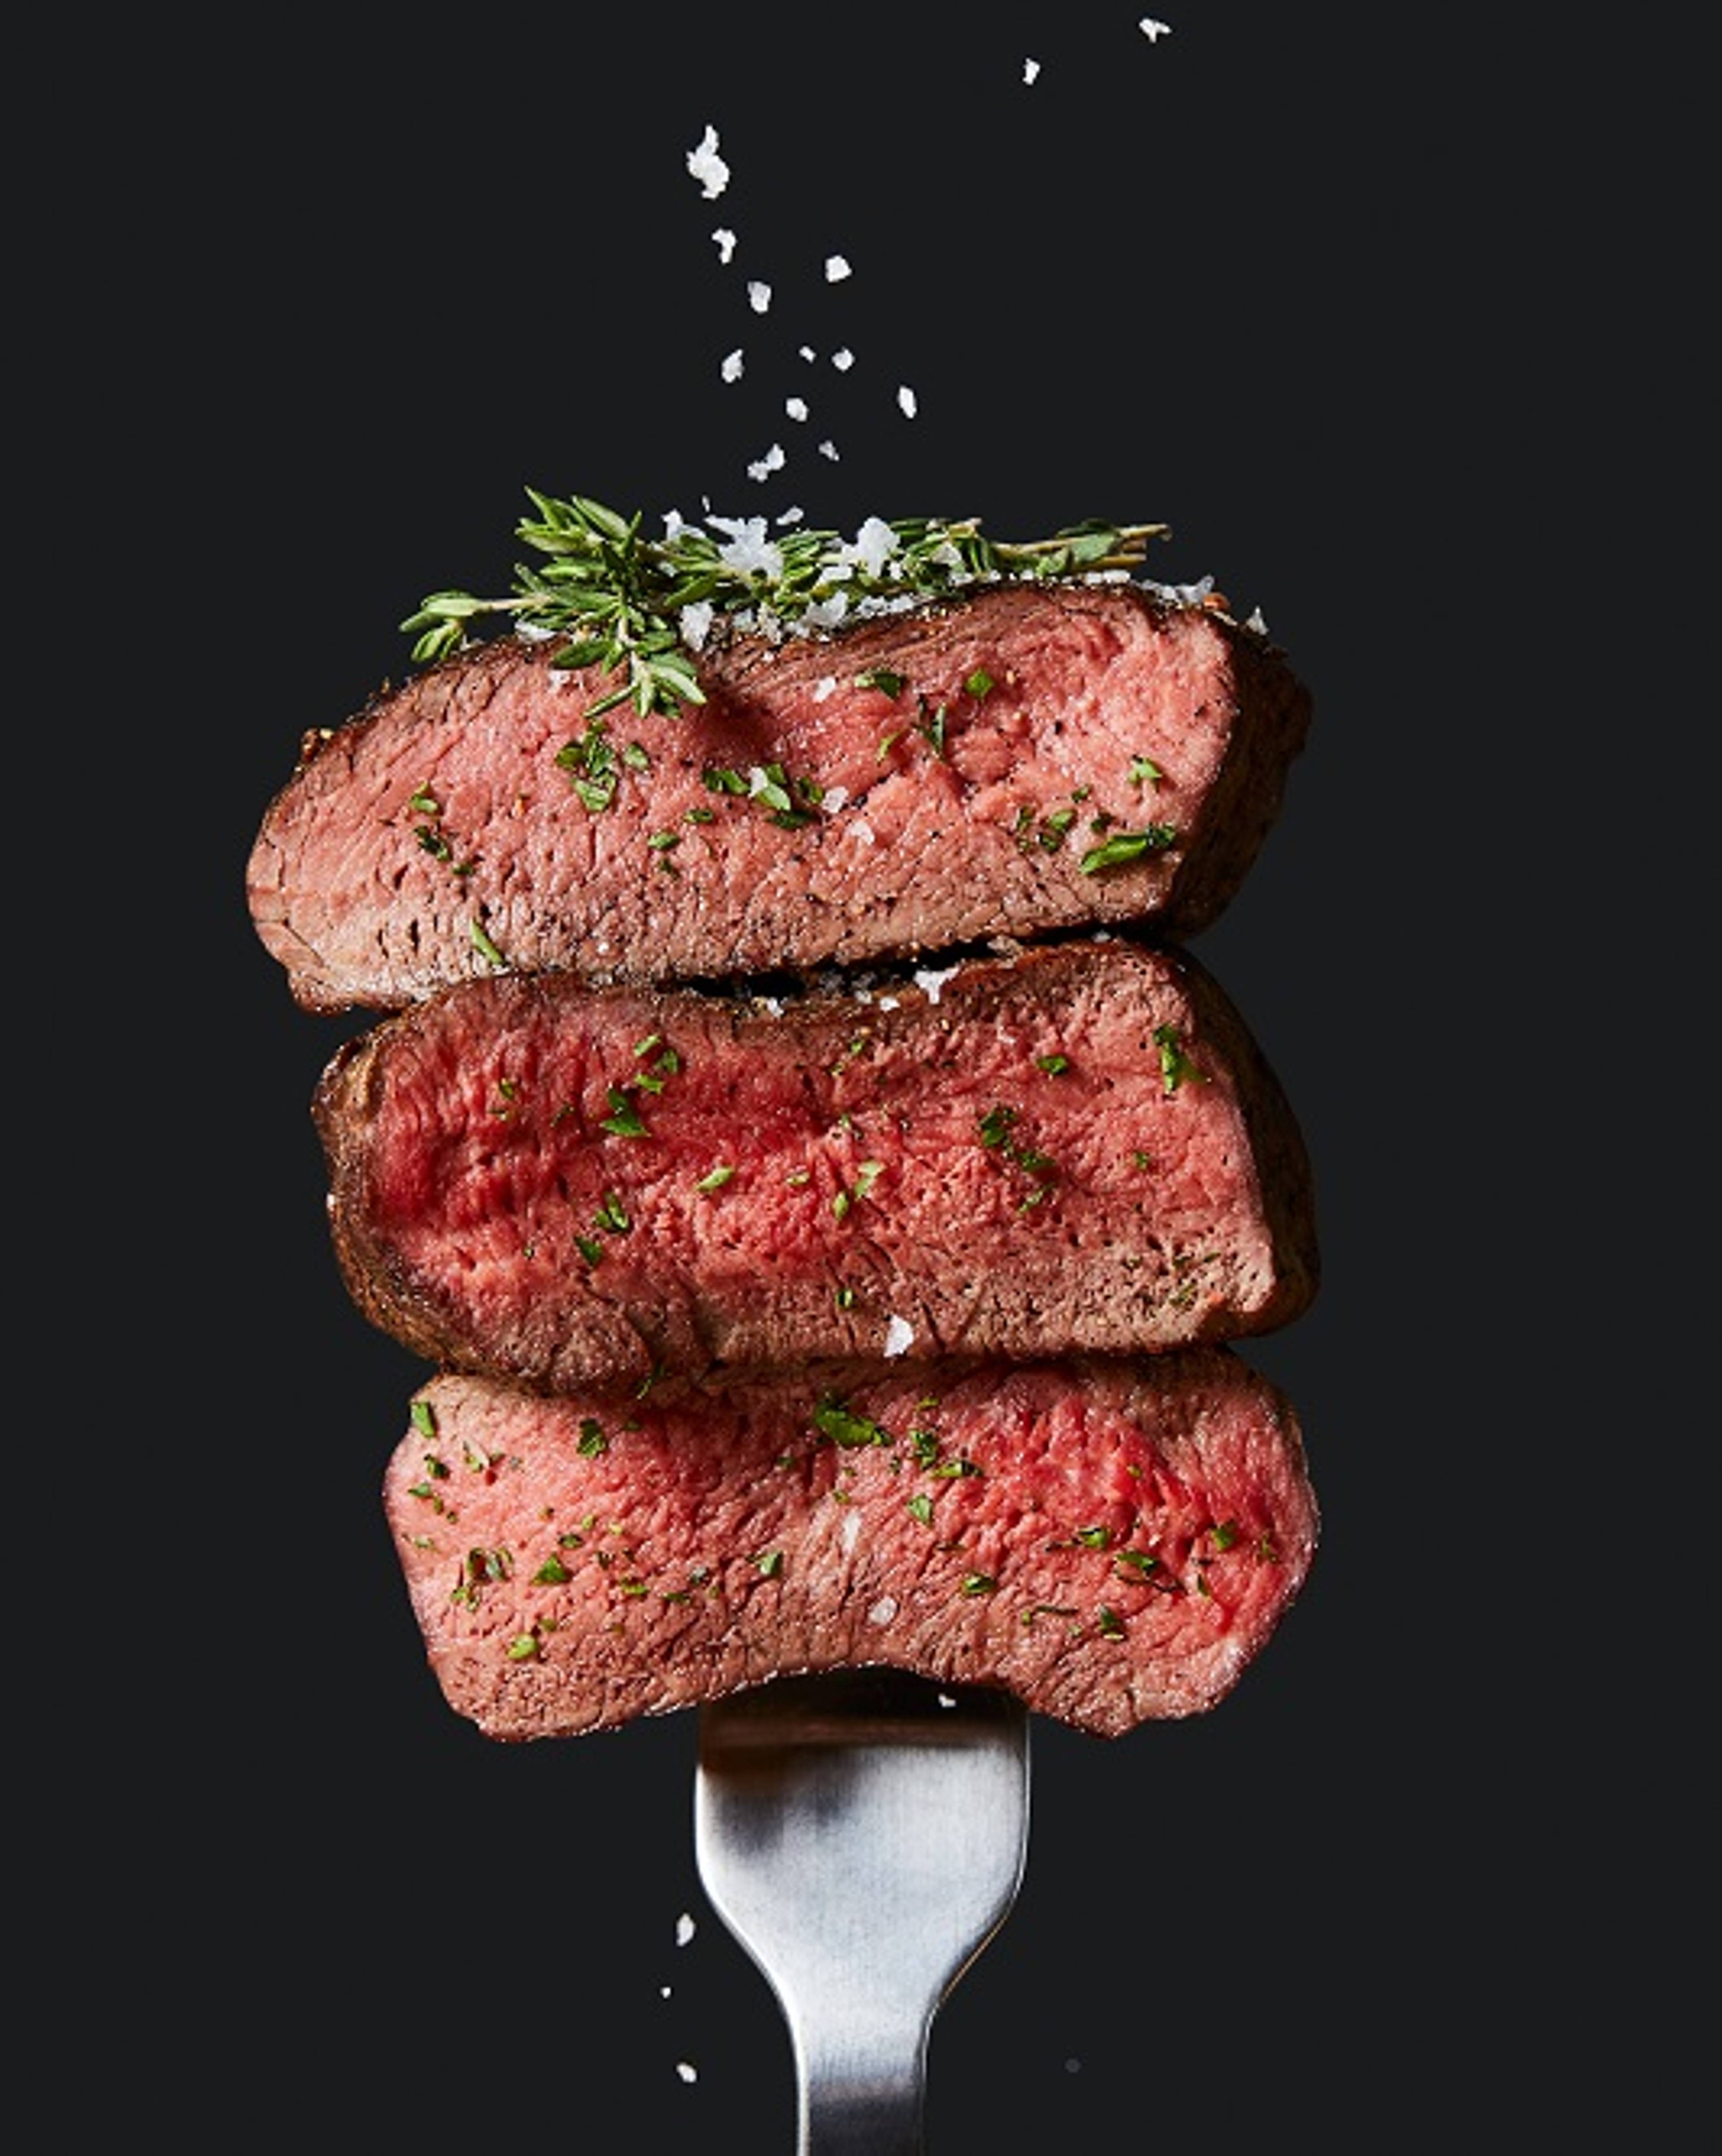
  4. After 2 minutes, test steak for doneness by piercing it with a meat thermometer. It will be medium-rare at 130 F and medium at 140 F. (You may want to remove it when it’s 5 degrees below the desired temperature, because it will keep cooking after you take it off the heat.)
  5. Continue flipping and retesting every 2 minutes until the steak reaches the desired temperature.
  6. Remove steak to a cutting board and let rest for 5–10 minutes. Slice and serve.

Delicious Recipes from HelloFresh to Cook in Your Cast-Iron Skillet

Delicious Recipes from HelloFresh to Cook in Your Cast-Iron Skillet

Part of the beauty of cast-iron cooking is that you have ample opportunities to practice it. Some places to start:

Get Started with America's #1 Meal Kit

Delicious recipes & ingredients delivered straight to your door
*Offer only valid for new customers with qualifying auto-renewing subscription purchase and expires 63 days after offer purchase at 11:59 PM ET. ‘10 Free Meals’ offer is based on a total discount applied over a 7-week period for a 2-person, 3-recipe subscription. Discount varies for other meal plans and sizes. ‘Free Dessert for Life’ offer is based on a limit of one free dessert item added to any plan for as long as a customer remains active; if subscription is canceled, this offer becomes invalid and will not be reinstated upon reactivation. Shipping fee applies on all deliveries after the first box. Not valid on premiums, meal upgrades, add-ons, taxes or shipping fees. May not be combined with gift cards or any other promotion. No cash value. Void outside the U.S. and where prohibited. Offer cannot be sold or otherwise bartered. HelloFresh has the right to end or modify any offer at any time. Additional restrictions may apply. See https://www.hellofresh.com/termsandconditions for more details.